

We’ve recently added accessibility metrics to the Lumar platform, to allow users to get fast, actionable insights on accessibility issues on their websites. Powered by our market-leading crawler, the accessibility metrics cover 100% of the automatable tests in WCAG 2.2 Levels A, AA and AAA, as well as best practices.
With our health scores in Lumar Analyze, you can quickly see which areas need addressing, and prioritize accordingly. Using proprietary Lumar technology, we also provide enhanced color contrast testing to vastly reduce false positives, saving you time and allowing you to focus on actual issues that need addressing. Lumar is powered by our market-leading crawler, giving you maximum scope and flexibility to focus on targeted, segmented crawls, or your entire site.
In addition to accessibility metrics, Lumar can also identify website technical health issues that can negatively impact the performance of your site. Get in touch with us if you’d like to know more.
Why is the accessibility of your site important?
Making your site accessible means no-one is left out, and your site can be used successfully by everyone, including those living with physical or cognitive impairments. Accessible websites are simple and easy to use, giving everyone a great user experience. That also means you don’t lose conversions or revenue through people not being able to find what they need on your site.
It’s also important to remember that many countries around the world have laws and regulations around digital accessibility. Ensuring your site is accessible therefore mitigates the reputational and financial risk of non-compliance.
Accessible websites are also important for SEO performance. Accessible sites aren’t just useful to humans, but also search engines that need to navigate your site to find your content and present it to those searching for the types or product and services you provide. The easier it is for search engines to do this, the better your content can perform.
Who are the accessibility metrics for?
Lumar’s accessibility metrics are useful for businesses keen to understand, prioritize and address accessibility issues in their site, but have limited internal resources of accessibility expertise in the business.
Lumar is designed to be used by any team involved in, or leading, accessibility for their organization, including accessibility leaders, technical SEO, UX and development teams, as a single source of truth for accessibility issues.
Getting Started
If you’re an existing Lumar customer, you’ll need to get in touch to add accessibility metrics to your existing package. If you’re not yet a Lumar customer, book a demo to see the platform in action.
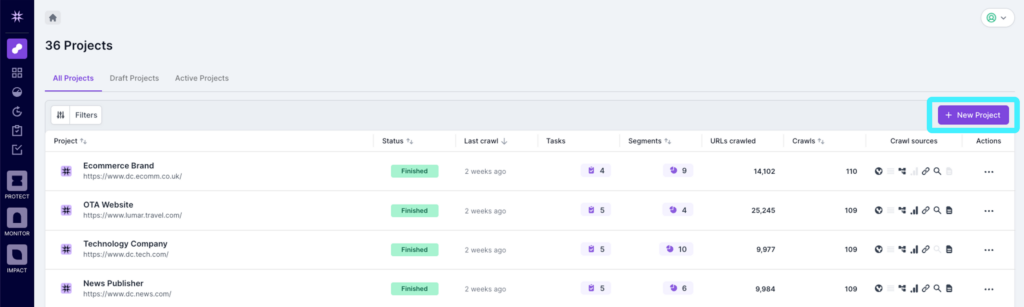
Running frequent and targeted crawls of your website is a key part of identifying, prioritizing and fixing accessibility issues. In this section, we’ll run you through the steps to crawling your site. To start, log in to Lumar Analyze and click the ‘New Project’ button in the top right corner of the screen.
Step 1 – Basic Information
Before starting a crawl, it’s a good idea to get an understanding of your site’s domain structure. Enter your domain name and into the ‘Domain’ field and click ‘Check’. You’ll then see a purple thumbs up for the relevant domain.
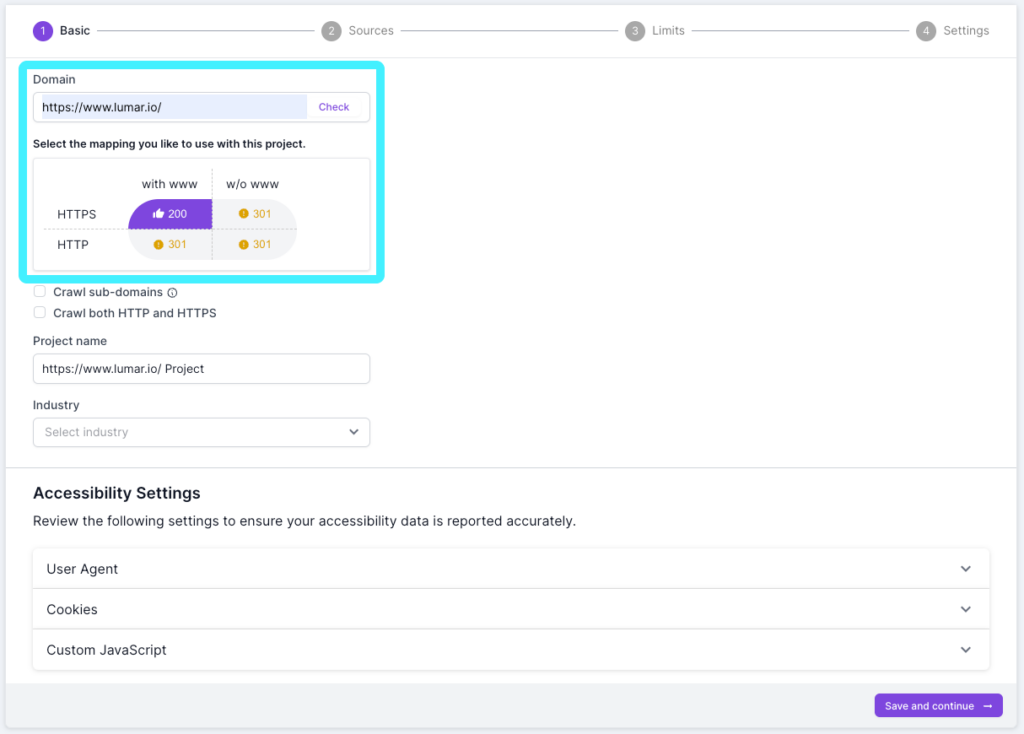
If you’d like the crawl to include any sub-domains found in the crawl, check the ‘Crawl sub-domains’ option. Just underneath that, you can also choose whether to crawl both HTTP and HTTPS.
The project name will automatically populate with the domain name, but you can change this to anything you like to help you identify the project.
If you have subscribed to our Impact functionality, you will also be able to see benchmarks against the health scores. You can choose the industry to benchmark against in the ‘Industry’ drop-down (or choose ‘all industries’).
At the bottom of the screen for Step 1, you’ll see additional settings that need to be completed for accessibility crawls.
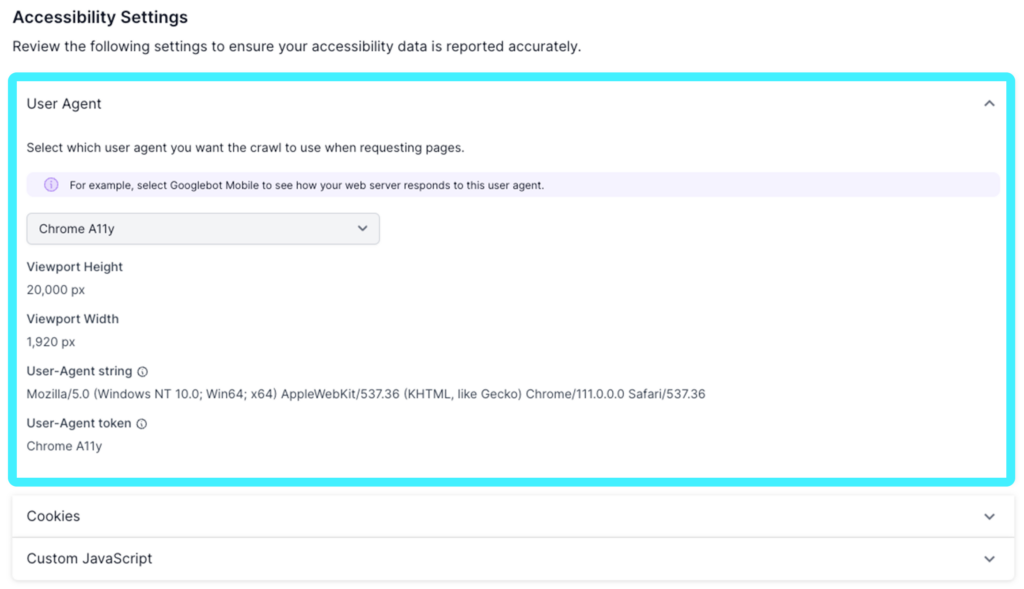
User Agent
In the ‘User Agent’ section, you can select the relevant user agent to use when requesting pages. When you select the user agent you want to use, you’ll see the viewport height and viewport width that the crawler will use, along with the User-Agent string and token. For accessibility crawls, you can choose between either the Chrome A11y (for desktop) or Chrome A11y Mobile (for mobile) user agent.
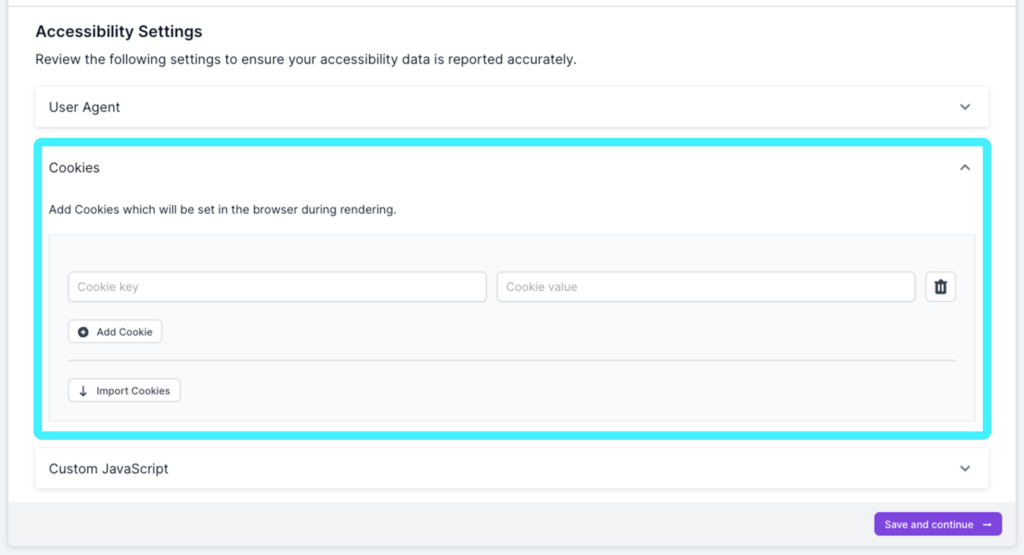
Cookies
In the ‘Cookies’ section, you can enter any Cookie key and value for your site. See instructions below for importing cookies. This allows the cookie message on your site to be accepted, so the accessibility crawl can continue. Please note that you will need to include this information before you can proceed.
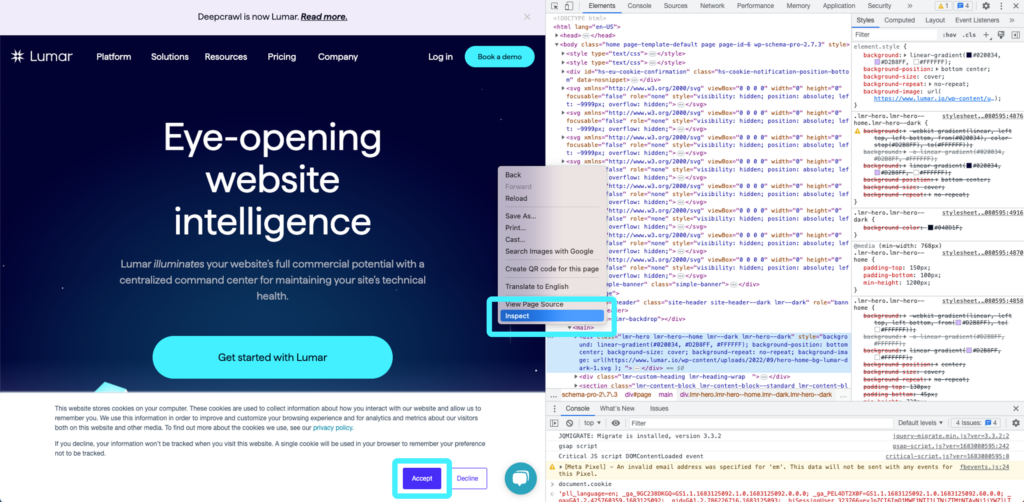
In Chrome, open a new Incognito (or private) window (go to File > New Incognito Window) so you can see the Cookie message.
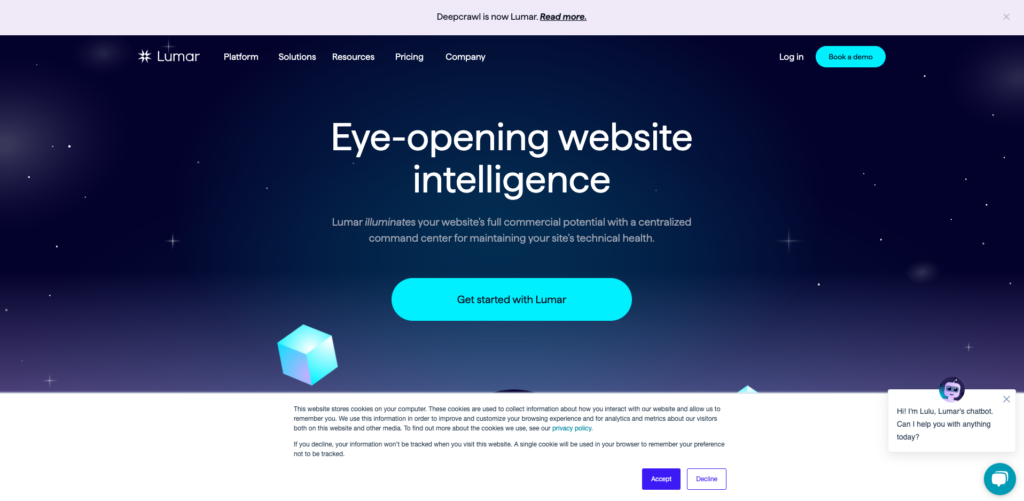
Right click and choose inspect to open the Chrome Developer Tools, and then click to accept the cookies in the banner.
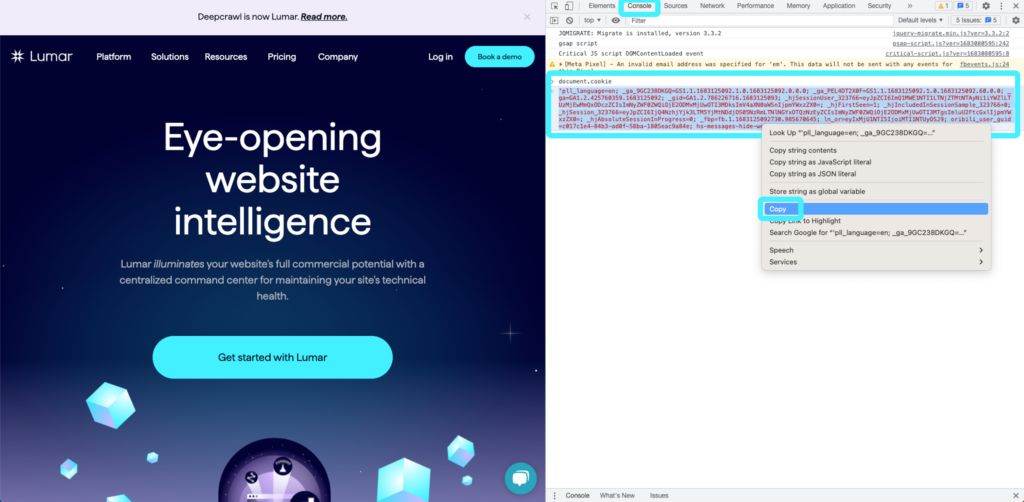
In the Console tab, type ‘document.cookie’ and hit return and you’ll see a string of code appear in red. Highlight this text, right click and choose ‘Copy’.
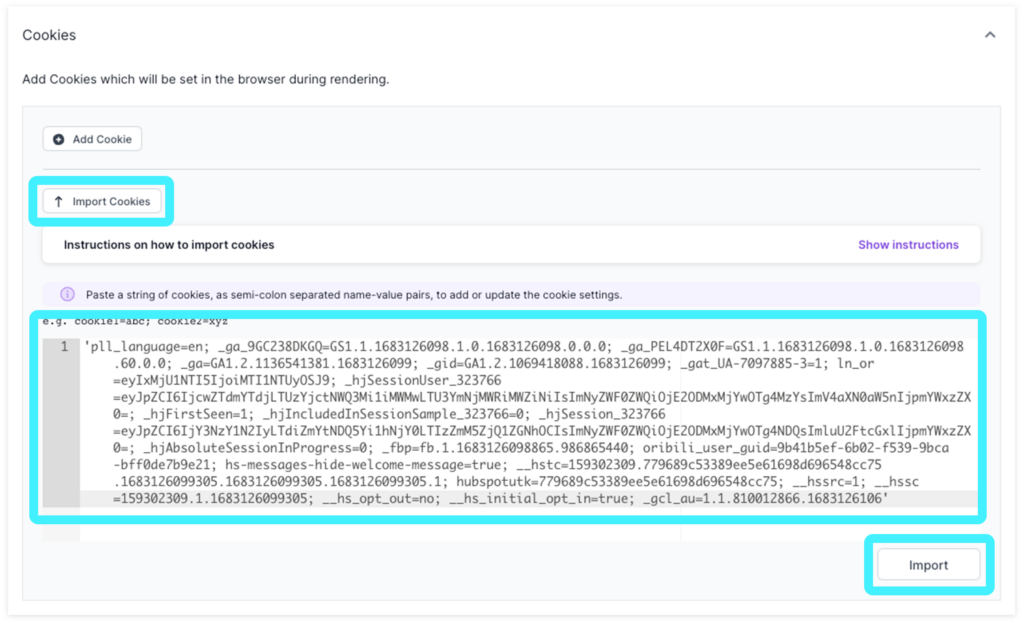
Go back to the Accessibility Settings in Lumar, and in the Cookies section, click Import Cookies. You can then paste the code and click Import. Lumar will then extract the relevant cookies from the code, and present them in a table format.
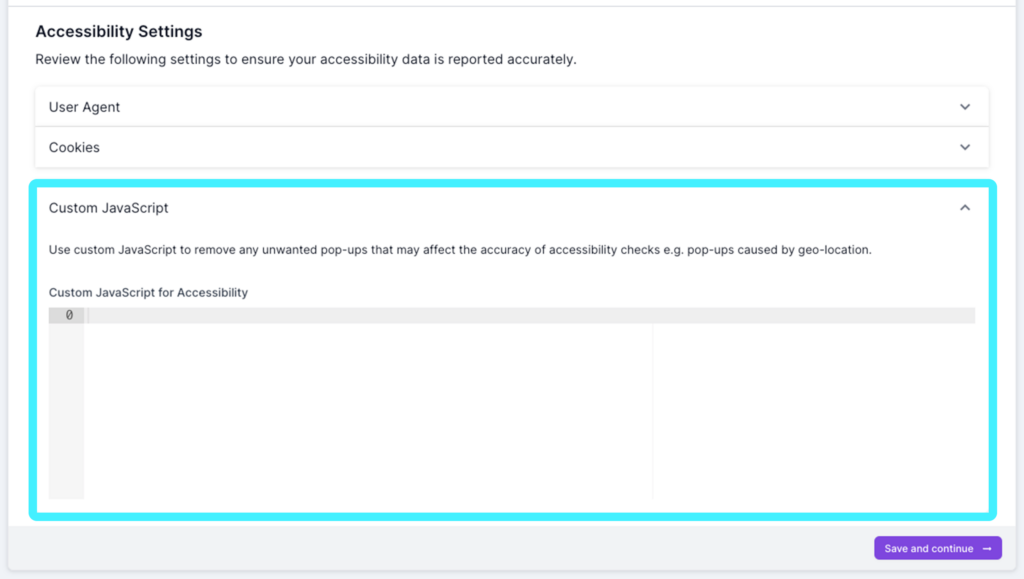
Custom JavaScript
You can enter any custom JavaScript for your site in the ‘JavaScript’ section. For example, if you have an eCommerce site, you may have a country selector pop up to check that the country store matches the user’s location. Entering the custom JavaScript here will allow the crawler to progress past these pop-ups and continue the crawl.
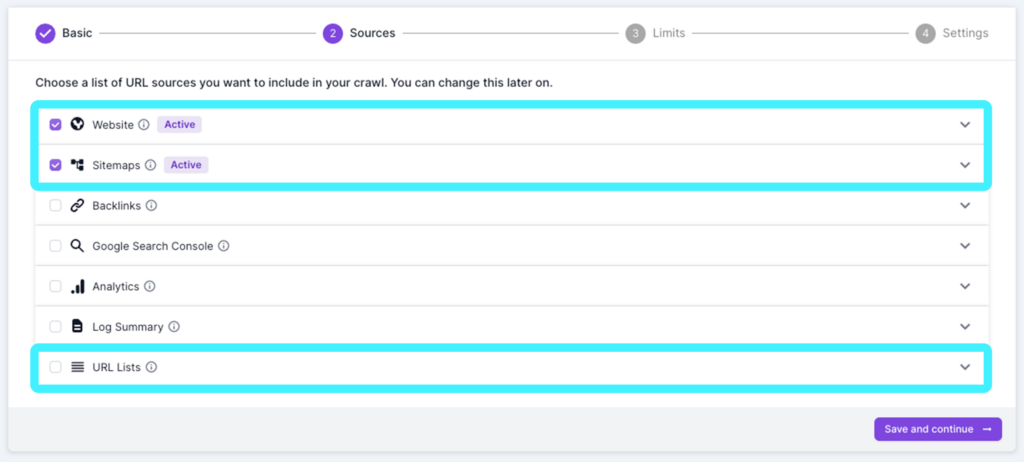
Step 2 – Sources
There are seven different types of URL sources you can include in your Lumar projects. For accessibility metrics, the key sources are:
Consider running a crawl with as many URL sources as possible, to supplement your linked URLs with XML Sitemap and Google Analytics data, as well as other data types.
- Website. Crawl only the site by following its links to deeper levels. The crawl will start from your primary domain by default, but if you need it to start from a different point, or multiple points, you can also specify those by expanding the website option.
- Sitemaps. Crawl a set of sitemaps, and the URLs in those sitemaps. Links on these pages will not be followed or crawled. When you expand the options here, you can also manually add sitemaps, select or deselect different sitemaps, choose whether to discover and crawl new sitemaps in robots.txt or upload XML or TXT sitemaps.
- Google Search Console. Use our Google Search Console integration to enrich your reports with data such as impressions, positions on a page, devices used, etc. You can also discover additional pages on your site which may not be linked. To use the integration, you will need to connect your Google Account to Lumar. See our ‘How to set up Google Search Console’ guide for more details.
- Google Analytics. Similarly, you can use our Google Analytics or Adobe Analytics integration, or upload analytics source data to discover additional landing pages on your site which may not be linked. Again, to use this you will need to connect your Google Account. See our ‘How to set up Google Analytics’ guide for more details.
- URL lists. Crawl a fixed list of URLs, by uploading a list in a text file or CSV. Links on these pages will now be followed or crawled. This can be particularly useful for crawling a specific set of pages for accessibility issues, such as those that feature key templates used across the site.
The other two sources available are primarily used for technical SEO analysis, but may be useful to identify orphaned pages that can’t be found through crawling. They are:
- Backlinks. Upload backlink source data, and crawl the URLs to discover additional URLs with backlinks on your site. This can be also be automatically brought in, via integration with Majestic.
- Log Files. Upload log file summary data from log analyzer tools such as Logz.io or Splunk to get a view of how bots interact with your site. You can also upload log file data manually.
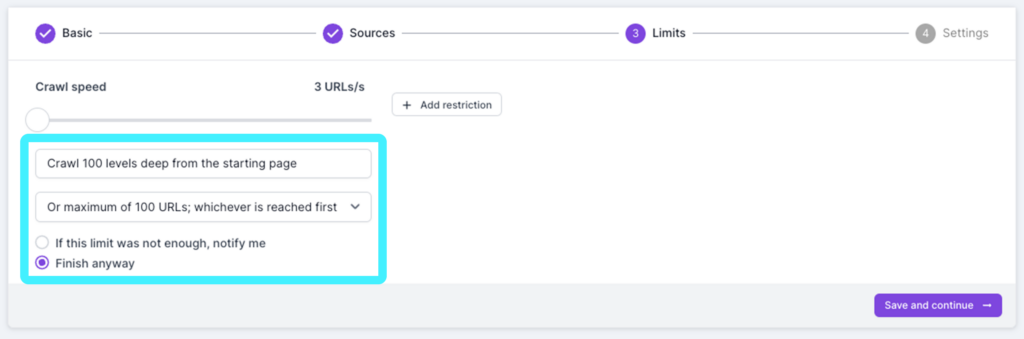
Step 3 – Limits
In step 3 you can set the relevant limits for your crawl. We recommend starting with a small ‘website’ crawl to look for any signs that your site may be uncrawlable. The default options are to crawl 100 levels deep from the starting page, or a maximum of 100,000 URLs, whichever is reached first. For the first crawl, we would recommend changing the second option to ‘Or a maximum of 100 URLs; whichever is reached first’. You can then choose whether to be notified, or finish the crawl if the limit was not enough. For the initial, small crawl, you can set this to finish anyway.
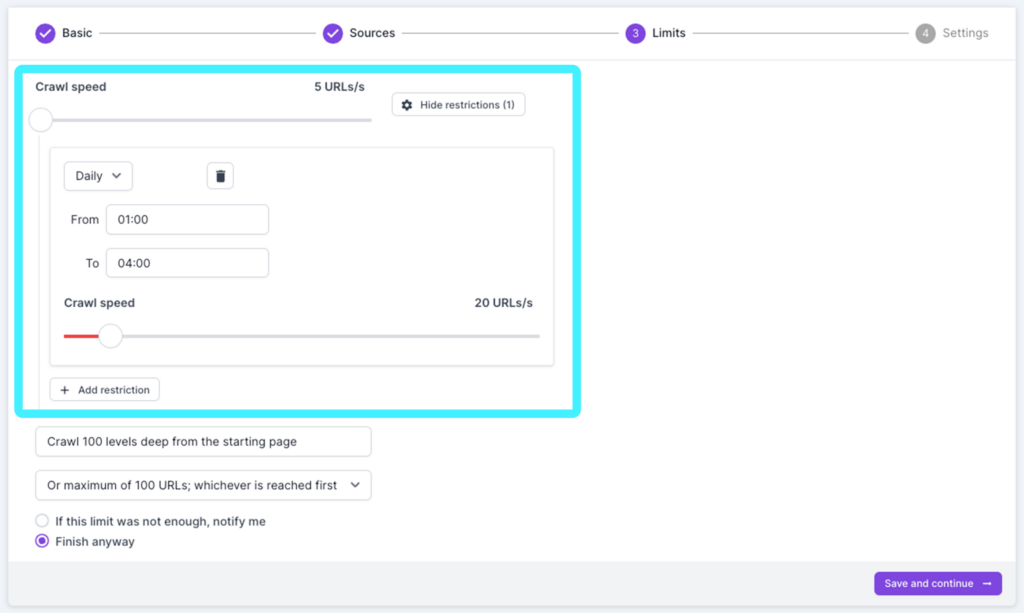
The other option you have in this step is to set the crawl speed. Lumar’s crawler is capable of crawling as fast as your infrastructure allows (up to 350 URLs per second for JavaScript rendered crawls in testing). However, crawling at too fast a rate means your server may not be able to keep up, leading to performance issues on your site. To avoid this, Lumar sets a low maximum crawl speed for your account. We can increase this, but it is essential to consult with your dev ops team to identify the crawl rate your infrastructure can handle.
You can set the crawl speed using the slider. You can also add restrictions, to lower or increase the speed of crawls at particular times. For example, you may decide that you want a slower crawl rate during peak times for your site, but increase in the early hours of the morning when traffic is low.
Step 4 – Settings
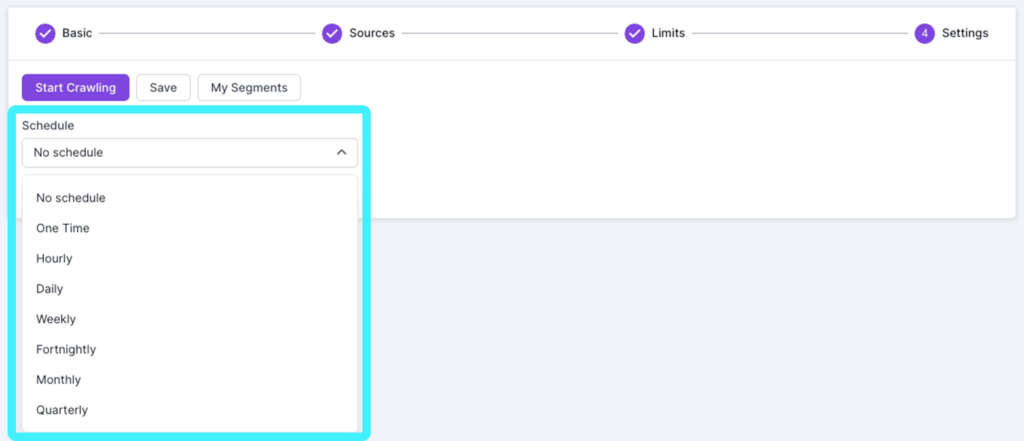
In step 4 you can start your crawl. Once you have completed your initial small crawl to make sure everything is correct, you’ll also be able to set a schedule to run crawls at regular intervals if required.
To set a schedule, choose your required frequency from the drop down and then choose your starting date and time. You can also choose ‘One Time’ to schedule a single, non-recurring crawl at a future date or time.
Underneath the Schedule options, you’ll also see a button for Advanced Settings. Clicking this will open up a range of additional options you can set as required. You’ll see a check on any elements that have settings applied (which are likely to have been added during the steps above), and can open up each section to add or amend new settings.
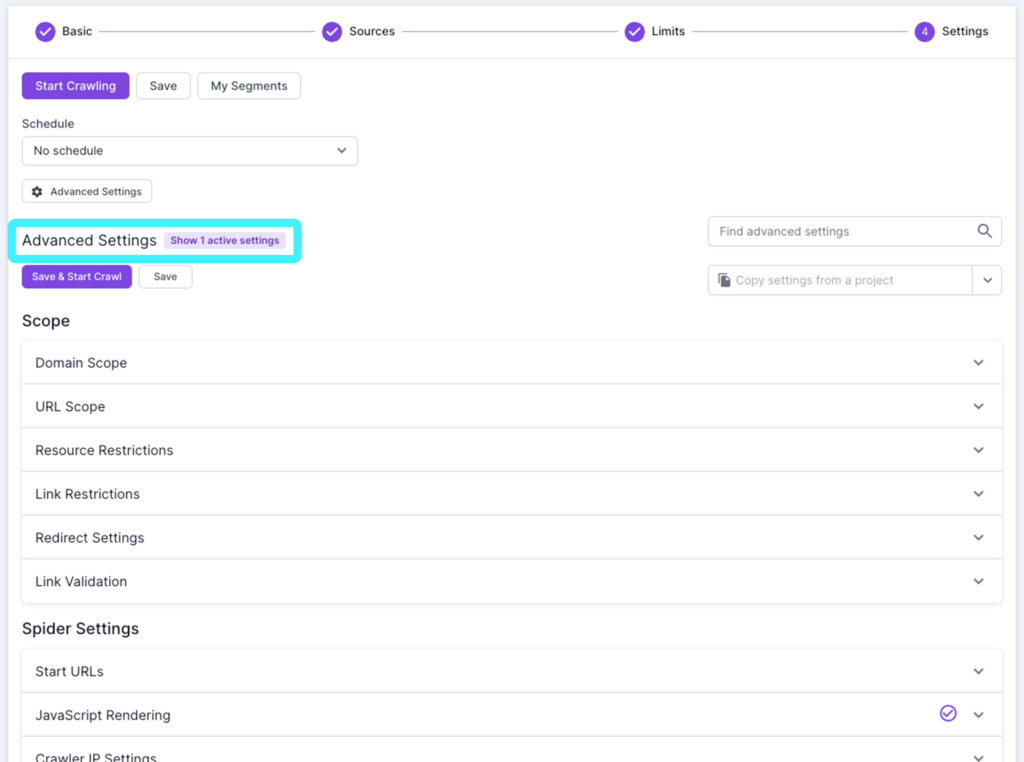
The advanced options are:
- Scope:
- Domain scope. Detailing the primary domain, whether sub-domains and both HTTP and HTTPS will be crawled, and any secondary domains that will be crawled. These may have been set in steps 1 and 2 above.
- URL scope. Here you can choose to include only specific URL paths, exclude specific URL paths or use page sampling, to restrict the number of URLs crawled to a percentage based on the URL pattern (e.g. example.com/products).
- Resource restrictions. To define which types of URLs you want Lumar to crawl (e.g. non-HTML, CSS resources, images, etc.). You can also set Lumar to ignore an invalid SSL certificate.
- Link restrictions. To define which links you want Lumar to crawl (e.g. follow anchor links, pagination links, etc.).
- Redirect settings. To choose whether to follow internal or external redirects.
- Link validation. Where you can choose which links are crawled to see if they are responding correctly.
- Spider settings:
- Start URLs. This was set in Step 2 above, but can be accessed and changed here.
- JavaScript rendering. Again, some of these settings were established above in step 1, but here you can enable or disable JavaScript rendering (remember that for accessibility crawls, JavaScript rendering must be enabled). You can also add any custom rejections, any additional custom JavaScript and add any external JavaScript resources.
- Crawler IP settings. Where you can select regional IPs if required. If your crawl is blocked, or you need to crawl behind a firewall (e.g. a staging environment), you will need to ask your web team to whitelist 52.5.118.182 and 52.86.188.211.
- User agent. You will have set this in step 1 above, but again the settings can be access here.
- Mobile site. If your website has a separate mobile site, you can enter settings here to help Lumar use a mobile user agent when crawling the mobile URLs.
- Stealth mode crawl. Allowing you to run a crawl as if it was performed by a set of real users.
- Custom request header. Where you can add any custom request headers that will be send with every request.
- Cookies Again, this was completed in step 1 above, but can be access here as well.
- Extraction:
- Custom extraction. Where you can use regular expressions to extract custom information from pages when they are crawled.
- Test settings:
- Robots overwrite. Here you can replace the live robots.txt for the primary domain with an alternative version.
- Test site domain. Here you can enter your test environment domain to allow comparisons with your live site.
- Custom DNS. This allows custom DNS entries to be configured if your website does not have public DNS records (e.g. a staging environment).
- Authentication. To include authentication credentials in all requests using basic authentication.
- Remove URL parameters. To remove any URL parameters required prior to the crawl.
- URL rewriting. Add a regular expression to match a URL and add an output expression.
- Report setup:
- API callback. Where you can specify a URL to be called once your crawl has been completed, to trigger an external application.
- Crawl email alerts. To set whether to receive email notifications on the progress of your crawl, and specify the email addresses that will receive notifications.
- Report settings. Here you can specify additional settings for your reports.
The Final Step
Once your first, smaller crawl has completed, take a look at the results to see if everything looks OK.
First, check the number of URLs crawled in the project summary. If you selected to crawl a maximum of 100 URLs in step 3, then the URL count should be around that number. If the URL count is 0 then it suggests your site has blocked the crawler, and the IP addresses mentioned above need to be whitelisted.

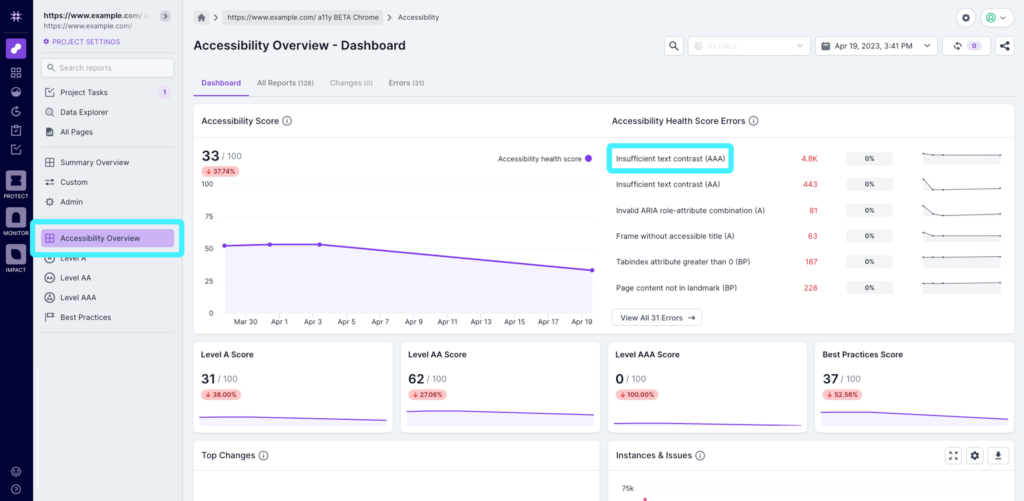
Secondly, check the domains of the URLs that are returned in the reports. Select the project from the project list and click on Accessibility Overview. You can then click on the top Accessibility Health Score Error on the right hand side to get into a report.
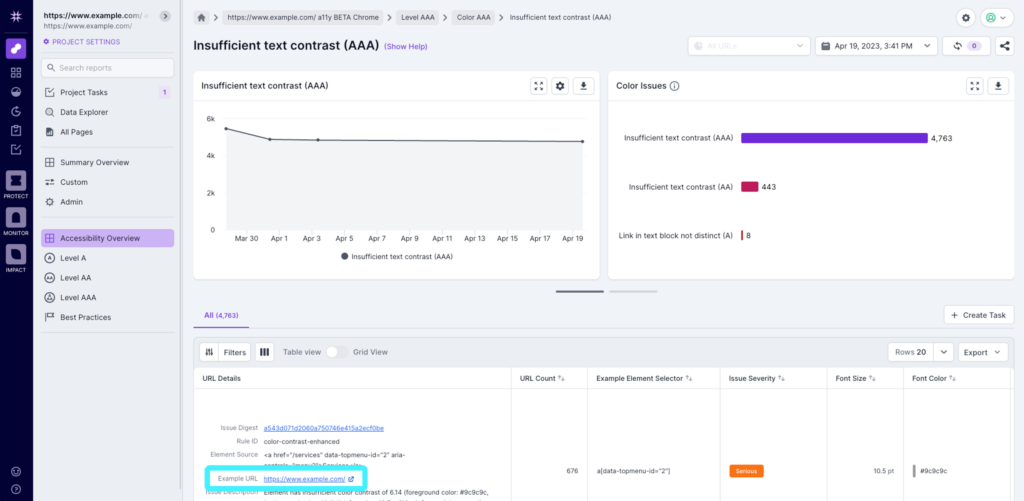
Once the report opens, check the ‘Example URL’ that appears in the URL details column and check that the domain or subdomain is correct.
If everything looks OK, you can then return to step 3 of the crawl setup to increase the limits, and run a full crawl.
Next Steps
Once your crawl completes, you’ll then be ready to start digging into the insights from the Lumar platform. Check out our guide on the accessibility dashboard and reports in Lumar to get started.
If you’re not a user of Lumar yet, book in a demo to find out more.


